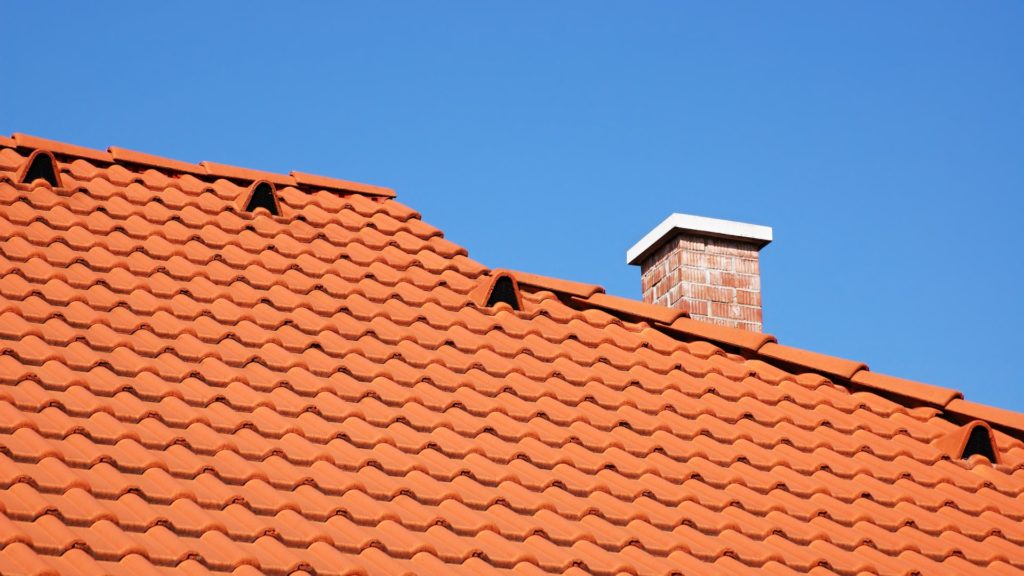
Welcome to URB’n Roofing Sunshine Coast, where we understand
that a well-maintained roof is crucial for both the aesthetic appeal and
structural integrity of your home. In this comprehensive guide, we’ll delve
into the art of repointing, focusing on concrete and terracotta tiles to ensure
your Sunshine Coast home remains protected and visually stunning.
The Importance of Repointing
Before we delve into the specifics, let’s address the why
behind repointing. Over time, weather exposure and general wear and tear can
cause the mortar between your tiles to deteriorate. This can lead to leaks,
water damage, and even compromise the stability of your roof. Repointing is the
key to preserving your roof’s functionality and preventing costly repairs down
the line.
Recognizing the Signs
Before you start repointing, it’s crucial to identify when
your roof needs attention. Look out for cracked or crumbling mortar, loose or
displaced tiles, and water stains on your ceiling. Addressing these issues
promptly can save you from more extensive damage in the future.
Repointing Concrete Tiles
Concrete tiles are a popular roofing choice due to their
durability and versatility. To ensure a successful repointing process, follow
these steps:
3.1: Cleaning and Preparing the Surface
Begin by thoroughly cleaning the roof surface, removing any
dirt, moss, or loose mortar. A pressure washer can be a valuable tool for this
task.
3.2: Removing Old Mortar
Carefully remove the deteriorated mortar using a chisel or
grinder. Be cautious not to damage the tiles during this process.
3.3: Applying New Mortar
Choose a high-quality mortar mix suitable for your climate.
Apply the mortar evenly between the tiles, making sure it adheres securely.
Finish by smoothing the surface for a polished look.
Section 4: Repointing Terracotta Tiles
Terracotta tiles lend a timeless charm to roofs, but they
require specific care during repointing. Follow these steps for optimal
results:
4.1: Gentle Cleaning
Terracotta tiles can be more delicate than concrete, so opt
for a gentle cleaning method, such as a soft brush or a low-pressure wash, to
avoid damage.
4.2: Replacing Damaged Tiles
Inspect your terracotta tiles for any cracks or breakages.
Replace damaged tiles before starting the repointing process.
4.3: Using the Right Mortar
Terracotta tiles demand a mortar mix that accommodates their
unique properties. Choose a mortar with good adhesive qualities and flexibility
to withstand the natural movements of terracotta.
Why choose URB’n roofing for your Roof Repointing Sunshine
Coast
For homeowners on the Sunshine Coast seeking professional
repointing services, URB’n Roofing is your trusted partner. Our experienced
team specializes in repointing concrete and terracotta tiles, ensuring your
roof stands the test of time against the coastal elements. Contact us today for
a personalized consultation and expert solutions tailored to your needs.
Investing time and resources into repointing your roof is a
proactive approach to preserving its longevity and aesthetic appeal. By
following the guidelines above, you can breathe new life into your concrete or
terracotta tiled roof on the Sunshine Coast, ensuring it remains a robust
shield against the elements while enhancing the overall beauty of your home.
Trust in URB’n Roofing for all your repointing needs, because we believe your
roof deserves nothing but the best.
Click here to contact us, call us at 0402 438 317 or email info@urbnroofing.com.au


